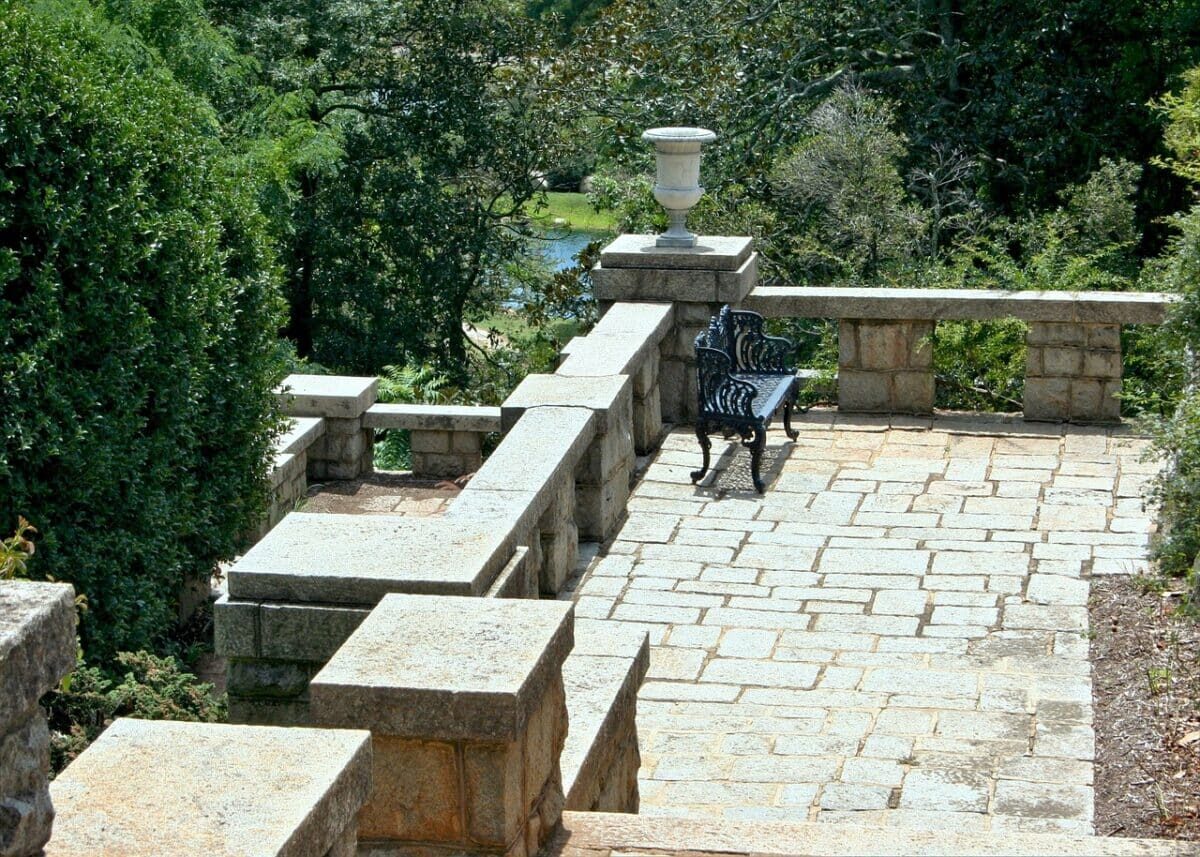
Nothing transforms an outdoor space like a well-designed paved terrace. This type of terrace not only brings a refined and durable aesthetic to your garden, but it also offers a walkable surface that is easy to maintain. Whether you want a place to dine outdoors, host evenings with friends, or simply relax, building a paved outdoor terrace can be a rewarding project.
Planning and Design
Before laying the first paver, it is crucial to carefully plan and design your terrace. A thoughtful design can make all the difference between a chic space and a shaky project.
Start by measuring the area where you want to install your terrace. Take into account the exact dimensions and draw a detailed plan. Next, choose the type of pavers you will use. Concrete, natural stone, or brick pavers each offer distinct advantages. Also consider the laying style: herringbone, checkerboard, or spiral. Another important aspect is the color of the pavers and how it will integrate with the rest of your garden.
It is also essential to prepare the necessary materials and tools. Here is a non-exhaustive list:
- Pavers of your choice
- Sand and gravel
- Geotextile
- Level and masonry rule
- Rubber mallet
- Paver saw
Soil Preparation
Soil preparation is a fundamental step to ensure the longevity and stability of your terrace. Poorly prepared soil can lead to settling and uneven pavers.
First, mark the area where the terrace will be laid using stakes and strings. Then, excavate the soil to a depth of 15 to 20 cm, depending on the thickness of your pavers and the climatic conditions of your region. Once the soil is excavated, install a layer of geotextile to prevent weed regrowth.
Next, spread a layer of gravel (about 10 cm) and compact it using a compactor. This gravel base ensures good drainage and prevents water accumulation under the pavers, which could damage them.
Laying the Pavers
Laying the pavers is the part where your project finally takes shape. Precision and patience are essential to achieve a flawless result.
After compacting the gravel layer, add a layer of sand about 5 cm thick. Use a masonry rule to level the surface. Then, begin laying the pavers according to the pattern you have chosen. Use a level to regularly check that the pavers are straight. If necessary, adjust them with a rubber mallet.
For a perfect fit, you may need to cut some pavers using a paver saw. Once all the pavers are laid, pour fine sand over the entire surface and sweep it to fill the joints between the pavers. Compact again to stabilize everything well.
Finishing Touches and Maintenance
The finishing touches and maintenance should not be overlooked if you want to keep a paved terrace in pristine condition for many years.
- For the finishing touches, check that all the pavers are well adjusted and stabilized. If necessary, add sand to fill any remaining gaps.
- Consider installing borders to prevent the pavers from shifting over time. Borders can be made of wood, metal, or concrete, depending on your preferences.
- For maintenance, regularly sweep the terrace to remove leaves and other debris. Applying a sealant can also extend the lifespan of the pavers and protect them from stains.
Creating a paved terrace is an ambitious yet affordable project that can transform your outdoor space into a place of relaxation and conviviality. By following these steps, you can achieve a terrace that is not only aesthetic but also durable, capable of withstanding the elements and the passage of time. Whether you are a novice or experienced DIYer, the satisfaction of seeing this project come to fruition is worth every moment of effort invested.